By: Beth Lynn Lewis
EponaShoe horseshoe applications are versatile, from gluing and casting to nailing them on. The method I use for my therapeutic practice is a combination of gluing and nailing. I choose this because I feel the glue offers stability within the shoe, vertical depth, and I can set the shoe in equilibrium with the boney column. Unlike a flat shoe nailed onto a foot that requires medial-lateral balancing thru leverage testing or identifying distortion or conformational support.
What makes the EponaShoe horseshoes perfect for nailing is the nail hole placement. The design gives me a lot of choice between where I need and want a nail, and they have a very deep seat for the head of the nail to sit well into the shoe up to the head and the shank of the nail. Another great thing about these shoes is how strong the material is and how well they wear; I can easily reset these shoes 1-3 times before needing a brand-new set. That durability makes them cost-effective over the length of the life of the shoe.
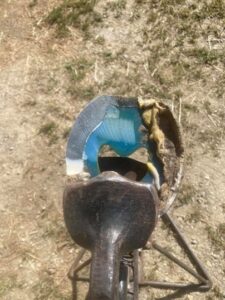
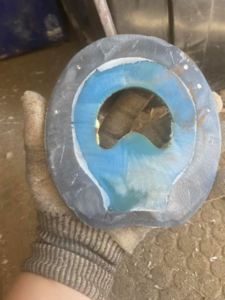
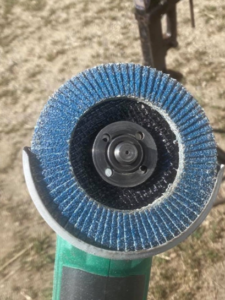
When we reset them, I do recommend straightening any bends in the shoe and cleaning them well. I use a stand-up vice and a handheld battery angle grinder with a 60-grit flap disk to remove old glue off the shoe and clean the edges of the shoe where I will feather the new glue onto. I also recommend cleaning out all nail holes.
When it comes to nailing, as in any glue-on shoe, timing is everything. I keep a clean area, and I have my shoe and foot prepped and ready to go. Mix and apply any hoof packing after applying glue to the horseshoe. We have two options once the shoe is on the foot, one method is to wait for the glue to be fully cured and the shoe to be weight-bearing, then apply nails, or you may gently but proficiently apply nails while the glue is just applied to the foot but before it’s set up or curing. The hard part of the second method is being fast and not disrupting the glue bond while it’s curing. I also use a slow set style acrylic MMA glue with this method, so I have some working time between the glue and my packing. This way, I can get a snug fit between the glue, packing, and well-placed nails. I always look to achieve well-placed and higher set nails above old nail holes. The type of nails I use on an EponaShoe is an LX style 60-65 on new shoes and a Combo 5 Slim blade on resets, and I feel the combo head fits into a shoe that has been used better primarily if the nail holes are used prior.
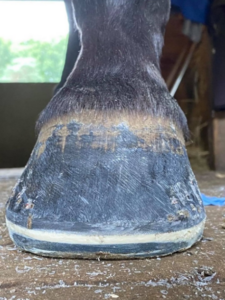
Once I am done, and the glue is set up, I bring the foot forward and do my finish work. Cut nails, remove the under-nail bur with a rasp or a gouge, adjust the length of the clinch, set the clinch, and smooth with a finishing rasp. I always instruct the client to keep feet dry for a final cure for the rest of the day. To remove, I simply cut or rasp off clinches, use crease nail pullers and pull-offs to pop the glue bond. One of the benefits of using glue and nails is not worrying about any casting material wearing off on heavy working horses. I can achieve shoe placement well without having to account for a bulky cast going over the package. That being said, I love casts and use them often when nailing isn’t ideal within rehab.

Beth Lynn Lewis, Equibalance Farrier Services, Ossipee NH
Service area New England
Specializing in barefoot rehab along with full-service shoeing & including composite shoes.
Graduated Mission Farrier School in May 2012
Beth Lynn Lewis is an avid lifelong horse owner and equestrian from show ring to pleasure riding.
0 Comments